Signs of Termite Damage Near Windows To Look For
March 16, 2025
5 Ways To Insulate Windows on Older Houses
March 20, 2025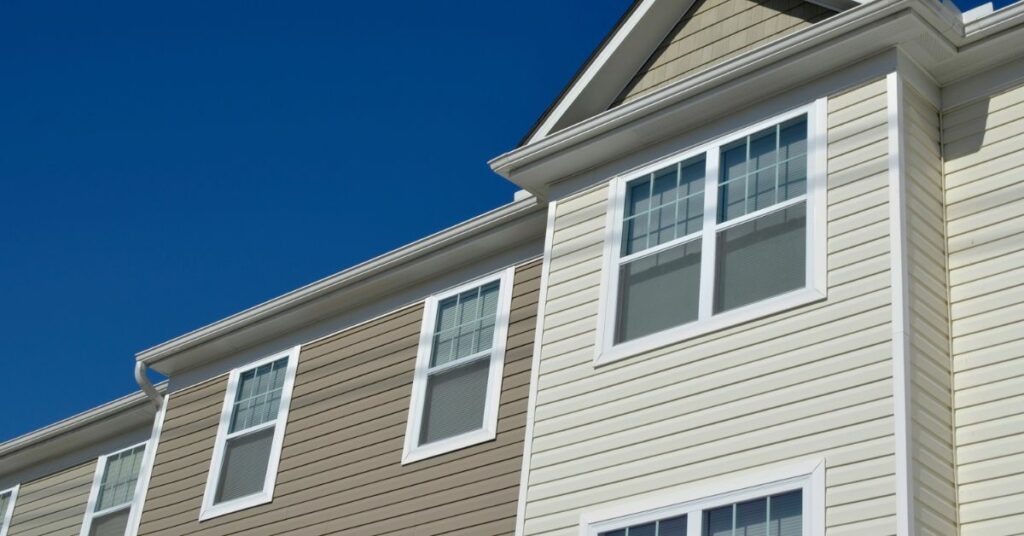

Vinyl windows are practical and stylish additions to many homes. They’re durable, low-maintenance, and energy-efficient, making them a popular choice for homeowners. However, like any part of your home, vinyl windows can start looking worn or outdated over time.
Looking for an affordable and creative way to refresh their appearance? Consider painting them. With these eight tips and tricks for painting vinyl windows, you can uplift your windows and even give your home a whole new aesthetic.
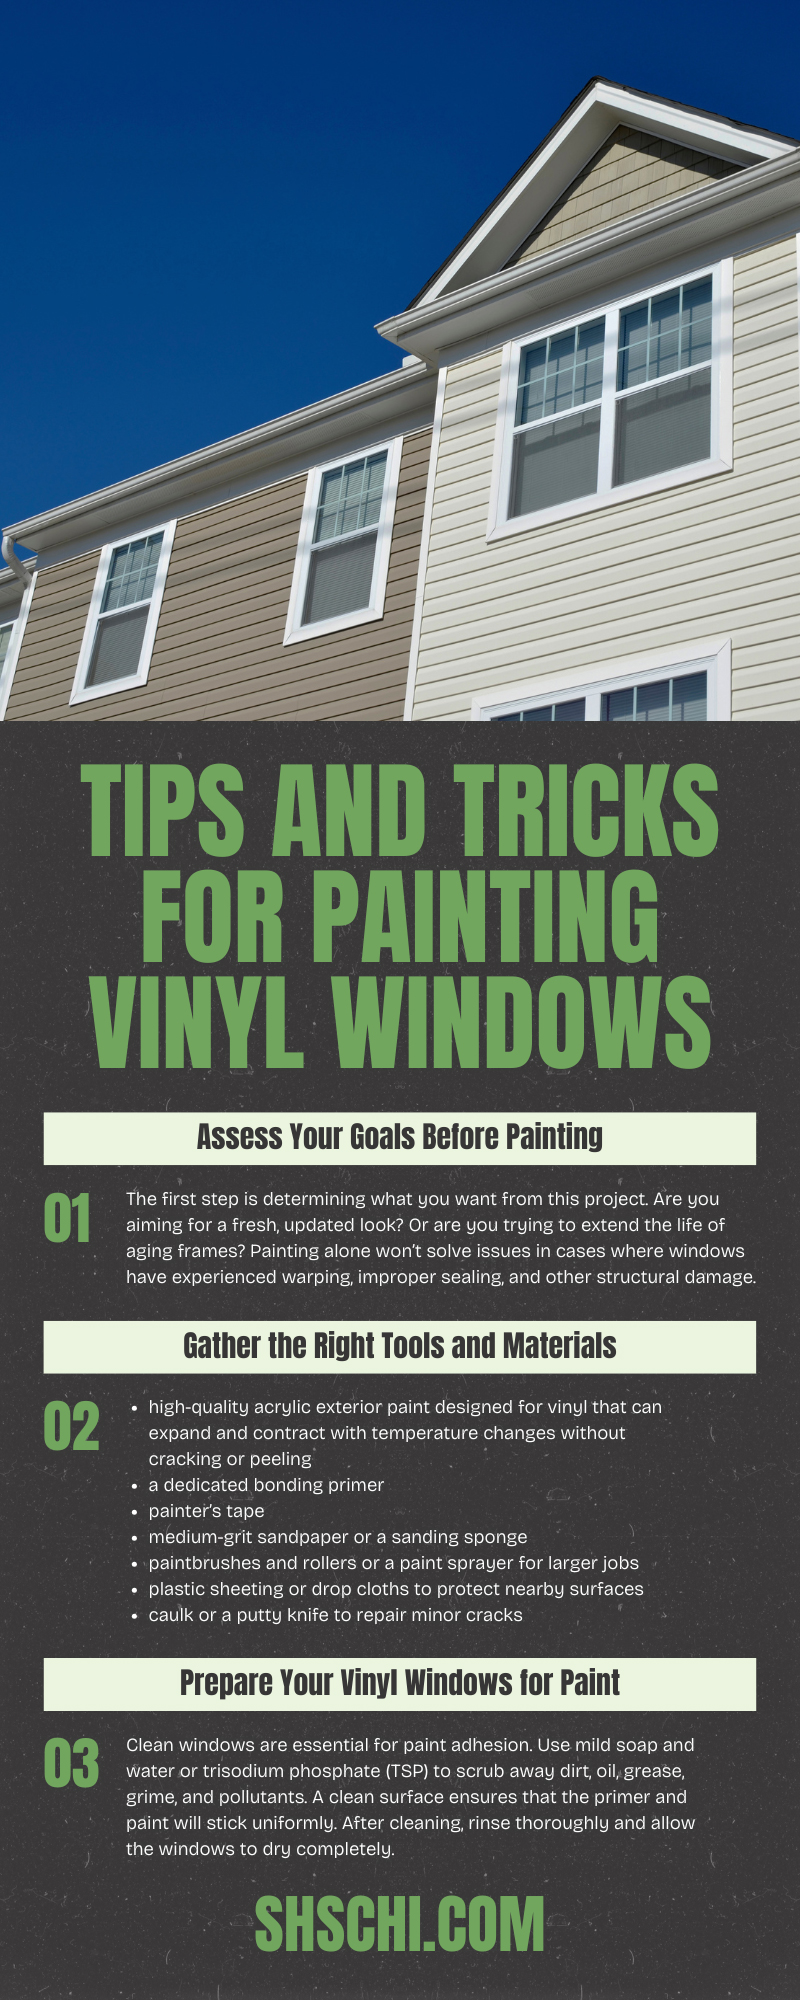
1. Assess Your Goals Before Painting
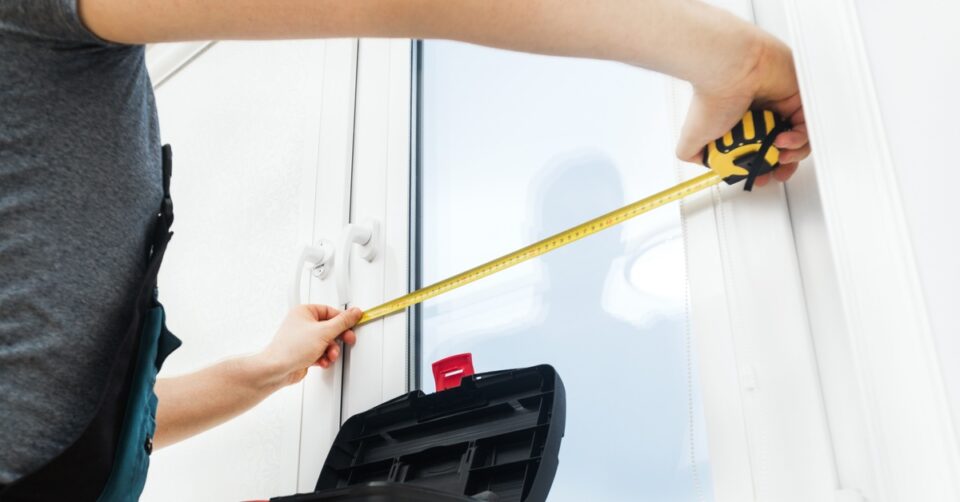
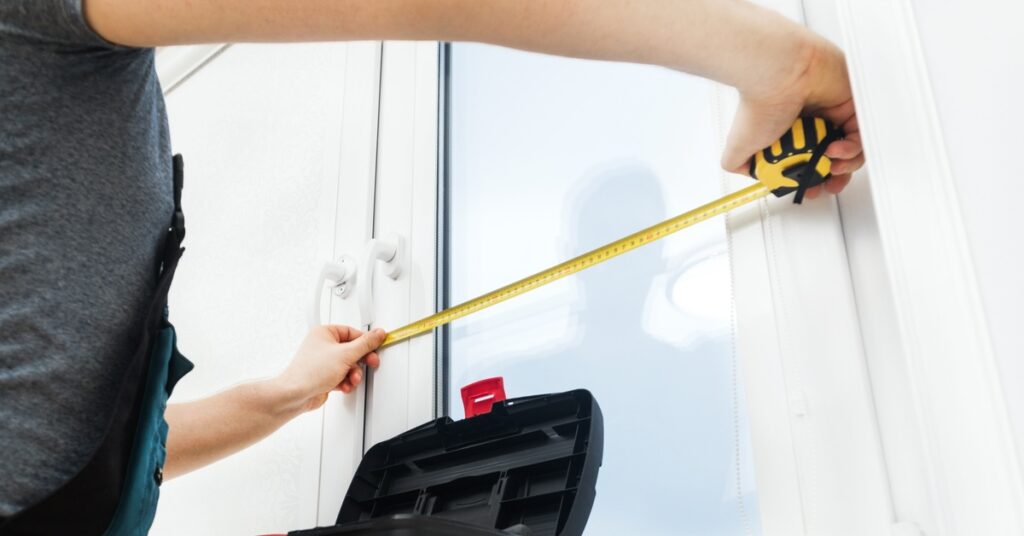
The first step is determining what you want from this project. Are you aiming for a fresh, updated look? Or are you trying to extend the life of aging frames? Painting alone won’t solve issues in cases where windows have experienced warping, improper sealing, and other structural damage.
Cracks and other forms of significant wear may require more than a cosmetic fix. Consulting a professional vinyl window installer can help you determine if replacement or repair might be a better option before painting.
Homeowners looking for vinyl window installation services in Chicago don’t have to look any further than Scientific Home Services. As leaders in manufacturing and installing top-notch, durable windows and doors, we can expertly handle minor problems and extensive repairs.
Our windows come with a fusion-welded, high-quality frame and sash that reinforces structural strength and performance. Protected by a Lifetime Warranty, these windows endure wear and tear with care and maintenance. Whether you choose from our 7000 Series or 8000 Series, our window selection guarantees you a durable, lasting, aesthetically pleasing window that will perform as well as it looks with a freshly painted frame.
2. Gather the Right Tools and Materials
To achieve a high-quality result, it’s important to equip yourself with the best tools and materials. Below is a list of useful items to have on hand.
- high-quality acrylic exterior paint designed for vinyl that can expand and contract with temperature changes without cracking or peeling
- a dedicated bonding primer
- painter’s tape
- medium-grit sandpaper or a sanding sponge
- paintbrushes and rollers or a paint sprayer for larger jobs
- plastic sheeting or drop cloths to protect nearby surfaces
- caulk or a putty knife to repair minor cracks
Starting with the right materials lets you work efficiently while achieving professional results, even if it’s a DIY job.
3. Prepare Your Vinyl Windows for Paint
Preparation is the foundation of success. Skipping or rushing this step can result in a paint job that peels, cracks, or just doesn’t look good. Here’s how to prepare your windows for a smooth, lasting finish.
Thorough Cleaning
Clean windows are essential for paint adhesion. Use mild soap and water or trisodium phosphate (TSP) to scrub away dirt, oil, grease, grime, and pollutants. A clean surface ensures that the primer and paint will stick uniformly. After cleaning, rinse thoroughly and allow the windows to dry completely.
Sanding
Sand the vinyl lightly with medium-grit sandpaper to remove shine and create a slightly rough surface. This step is vital because paint struggles to adhere to smooth, glossy vinyl. Don’t overdo it—just a gentle scuffing is enough.
Mask Off the Area
Using painter’s tape, mask off the edges of the glass panes, weather stripping, walls, and areas you don’t intend to paint. Cover floors and sills with plastic sheeting to protect against drips or accidental splatters.
Apply Primer (if Necessary)
A bonding primer can help paint stick more effectively, especially if your chosen paint isn’t self-priming. Make sure the primer is compatible with vinyl surfaces, and follow the drying times recommended by the manufacturer.
4. Choose the Right Colors and Finishes
Choosing the perfect shade is both fun and critical for long-term success. However, not every color works for vinyl windows. Likewise, consider how different finishes vary in the advantages they provide. Keep the following in mind:
- Darker hues absorb more heat, which can cause the vinyl to expand and warp.
- Lighter, vinyl-safe shades reflect sunlight and prevent heat buildup.
- Semi-gloss is easy to clean and durable for exterior surfaces.
- Satin gives a slightly softer appearance without sacrificing durability.
If you’re unsure about color choices or finishes, professional window installers, like our team at Scientific Home Services, have valuable insights into trends and what will complement your home’s exterior.
5. Start Small
Begin by painting the edges and hard-to-reach areas with an angled brush. This is an especially beneficial technique if you find it’s easier to do detail work first before tackling larger surfaces.
6. Thin, Even Coats
Apply paint in thin, even coats rather than one thick layer. This prevents streaks, drips, and uneven coverage. Whether using a roller or sprayer, allow for overlap to create seamless transitions.
7. Allow Adequate Drying Time
Adhere to manufacturers’ recommendations for drying time between coats. Typically, you’ll need at least two to three coats, but allowing each coat to fully dry ensures a durable finish.
8. Inspect for Imperfections
After completing all layers, inspect the windows under good lighting. Touch up uneven sections or missed spots for a polished look.
Cleaning Up and Finishing Touches
Carefully remove the painter’s tape while the paint is still slightly wet to avoid peeling. You can correct any slips with a razor blade or damp cloth. Finally, reattach any components or hardware you removed earlier. Remember to save leftover paint for touch-ups and store it properly for future use.
Maintaining Painted Vinyl Windows
Proper maintenance is key to preserving your hard work. Clean them regularly with mild soap and water, avoiding abrasive scrubbing tools or harsh chemicals that might erode the paint. Inspect them periodically for signs of peeling or damage, and address these areas quickly with touch-up paint.
When To Call in the Pros
While painting vinyl windows is achievable as a DIY project, there may be situations where it’s better to leave it to the experts. Going this route can be worth it because professional painters often have access to specialized tools, high-grade materials, and experience that ensure your window painting projects go right the first time.
Painting vinyl windows is a straightforward way to refresh their look and update your home’s style. With these eight tips and tricks for painting vinyl windows, your windows can look rejuvenated and beautiful.
Always weigh the scope of the project against your home’s long-term needs. You may need to consult professionals for vinyl window installation or maintenance to achieve lasting results with less hassle. However you approach it, take the time to plan, prepare, and execute the project thoughtfully to gain refreshed windows that bring life back to your home’s exterior and interior.
